I recently acquired this tool as it was being clearanced out of my local hardware store. On arrival home I noticed some thing I wanted to change before putting this machine into full operation.
1. Change the switch to something that's more of a real switch. (Finished)
2. Wire lamp into mains. (Finished)
3. Make laser also work from mains. (Finished)
4. Add mobile base (she be a heavy beast) (postponed - need plywood)
5. Reroute power cable to behind motor so it is out of the way of the rack. (Finished)
6. Modify table tilt bolt to have handle (postponed {requires press to work})
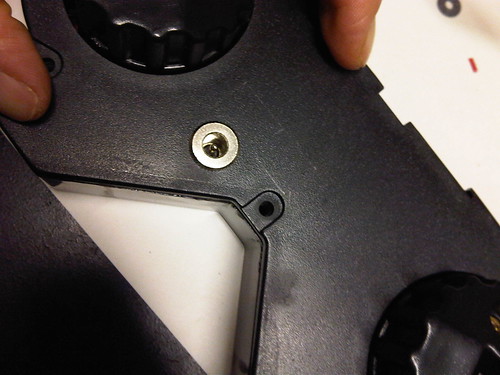
1. The switch I always liked for heavy duty power tools I found on a Craftsman Professional drill press. I sourced them for replacement parts, the switch, cover, and "off" paddle cost me $22 with shipping
Here Model# 152229010, parts in diagram #50, 51, 52. I Initially thought this change over would be very simple as it looked like it just might fit. on arrival, it did not. So I decided to take out the original switch, and use the original metal plate as a mounting bracket for the the new one. I used a Dremel an a cutting wheel for the rough cut, the grinder wheel for fitment. Its not pretty, but it doesn't matter as it will not show up. Next I drilled the holes after aligning where I wanted the final placement. Then tapped them with a M4 .7 tap. and used M4-25 bolts with washers. Be sure to use washer behind the switch as it needs space as the overhang of the cover wont let it mount securely. I used 4 washers. This modification also aids in future upgrade to 220 mains when you want to upgrade the motor.

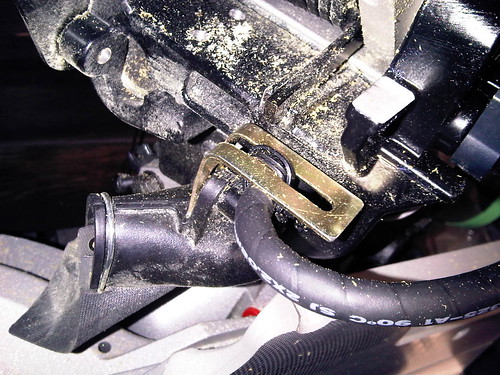
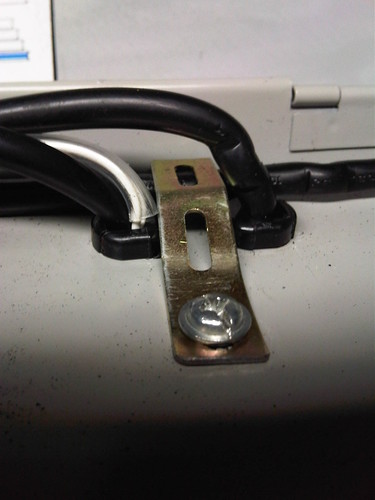
2. I used the old hole that used to be the one for the main power cord. Since it will now be move to the back of the machine. this opens up for the lamp cable to be routed into the front panel. This also requires modifying the metal cable stays.
3. This requires the use of a very small 9v adapter. I'm using one from an old defunct answering machine. I mounted the adapter with a hose clamp and thick pipe strap steel plate. It was trick to get the adapter and the switch to fit with the adapter in the housing. I ran the 9v cable through 1/4 tubing to reduce risk of harming cord. I also ran this cord through with the lamp cord strain relief.
4. I found the HTC-2000 to fit the bill with layers of plywood for a base. Found it on amazon
HERE.
5. This is something that just makes me scratch my head on why they didn't do this. Put the exit of the power cord clear in the back past the motor. I used a screw on cable strain relief from McMasterCarr
69915K64drilled a hole in the back near the motor. I used a Lennox 3/4" Bi-metal hole saw to make the hole for this strain relief.
6. This will take a bit of machining skills. To make this I have drawn out how to make it. So far the idea is to use the same handles they use on the bottom of the table including the spring loaded part.
As of 12/10/10
 Forget dyson, how about putting a cyclone separator on a shopvac. This makes any vac a 2 stage machine. Check out it out here.